The Workflow feature of Lime Connect enables the visual creation of chatbot flows without programming knowledge. Our tutorial provides an overview of the most important functions and components.
Setup
Add a new workflow
To add a new workflow, click on the workflow icon in the left menu.
The workflow overview opens. You can now add new workflows or work on existing ones.
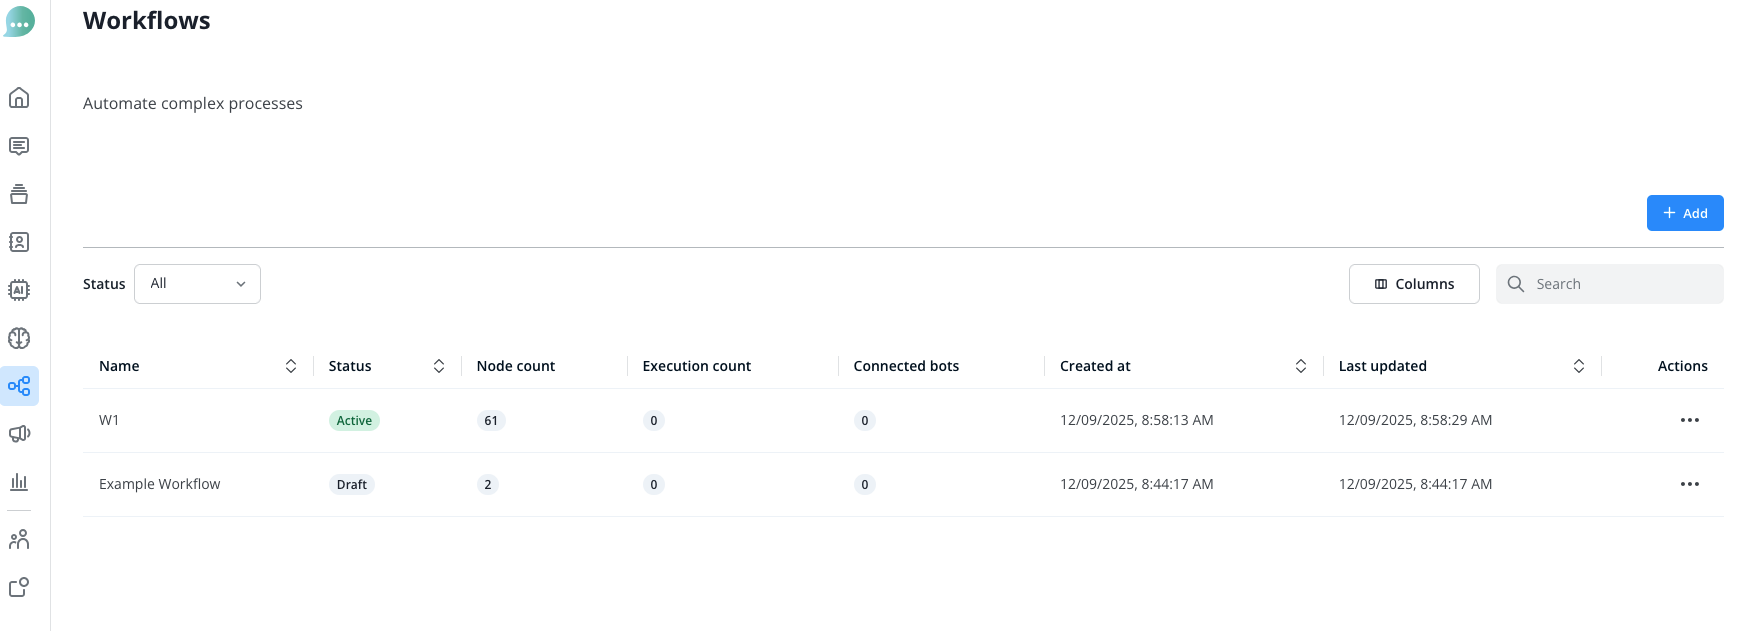
After clicking the blue “Add” button or opening an existing workflow by clicking on its name, the workflow editor will open up.
Assign your workflow to a chatbot
To assign one of your workflows to a chatbot, head to Operators > Chatbots.
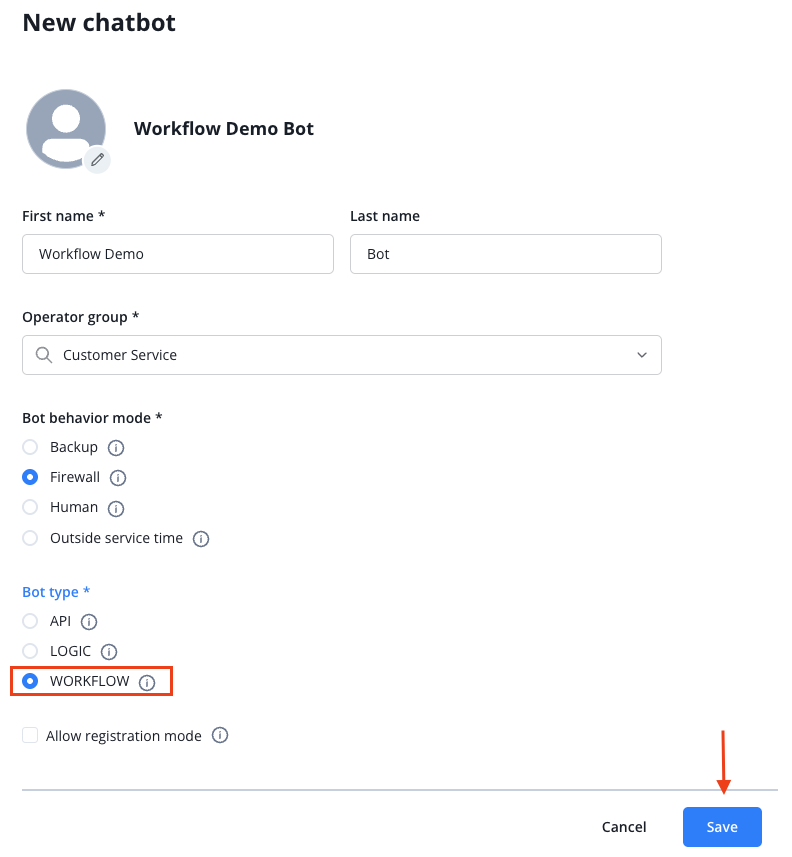
Add a new chatbot and select “Workflow” as the bot type, then choose the workflow you want to assign to this chatbot.
Finally save your new Workflow-bot.
Thats’s all. Your workflow is now assigned to your chatbot.
Explanation of Individual Functions
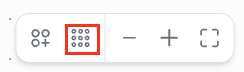
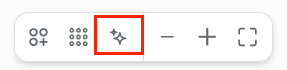
If you have created an extensive workflow, you can use this button to adjust the workflow to the size of the canvas and automatically arrange it in the best possible way:
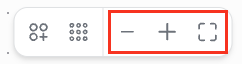
Using the menu at the bottom, you can zoom in or out of the view and maximize the current node view so that all used nodes are visible.
Open the node menu by clicking on the following icon:
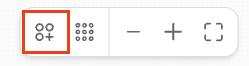
The node menu contains all elements that you can use for your chatbot.
A node refers to a specific element or a fixed defined step in your chatbot flow.
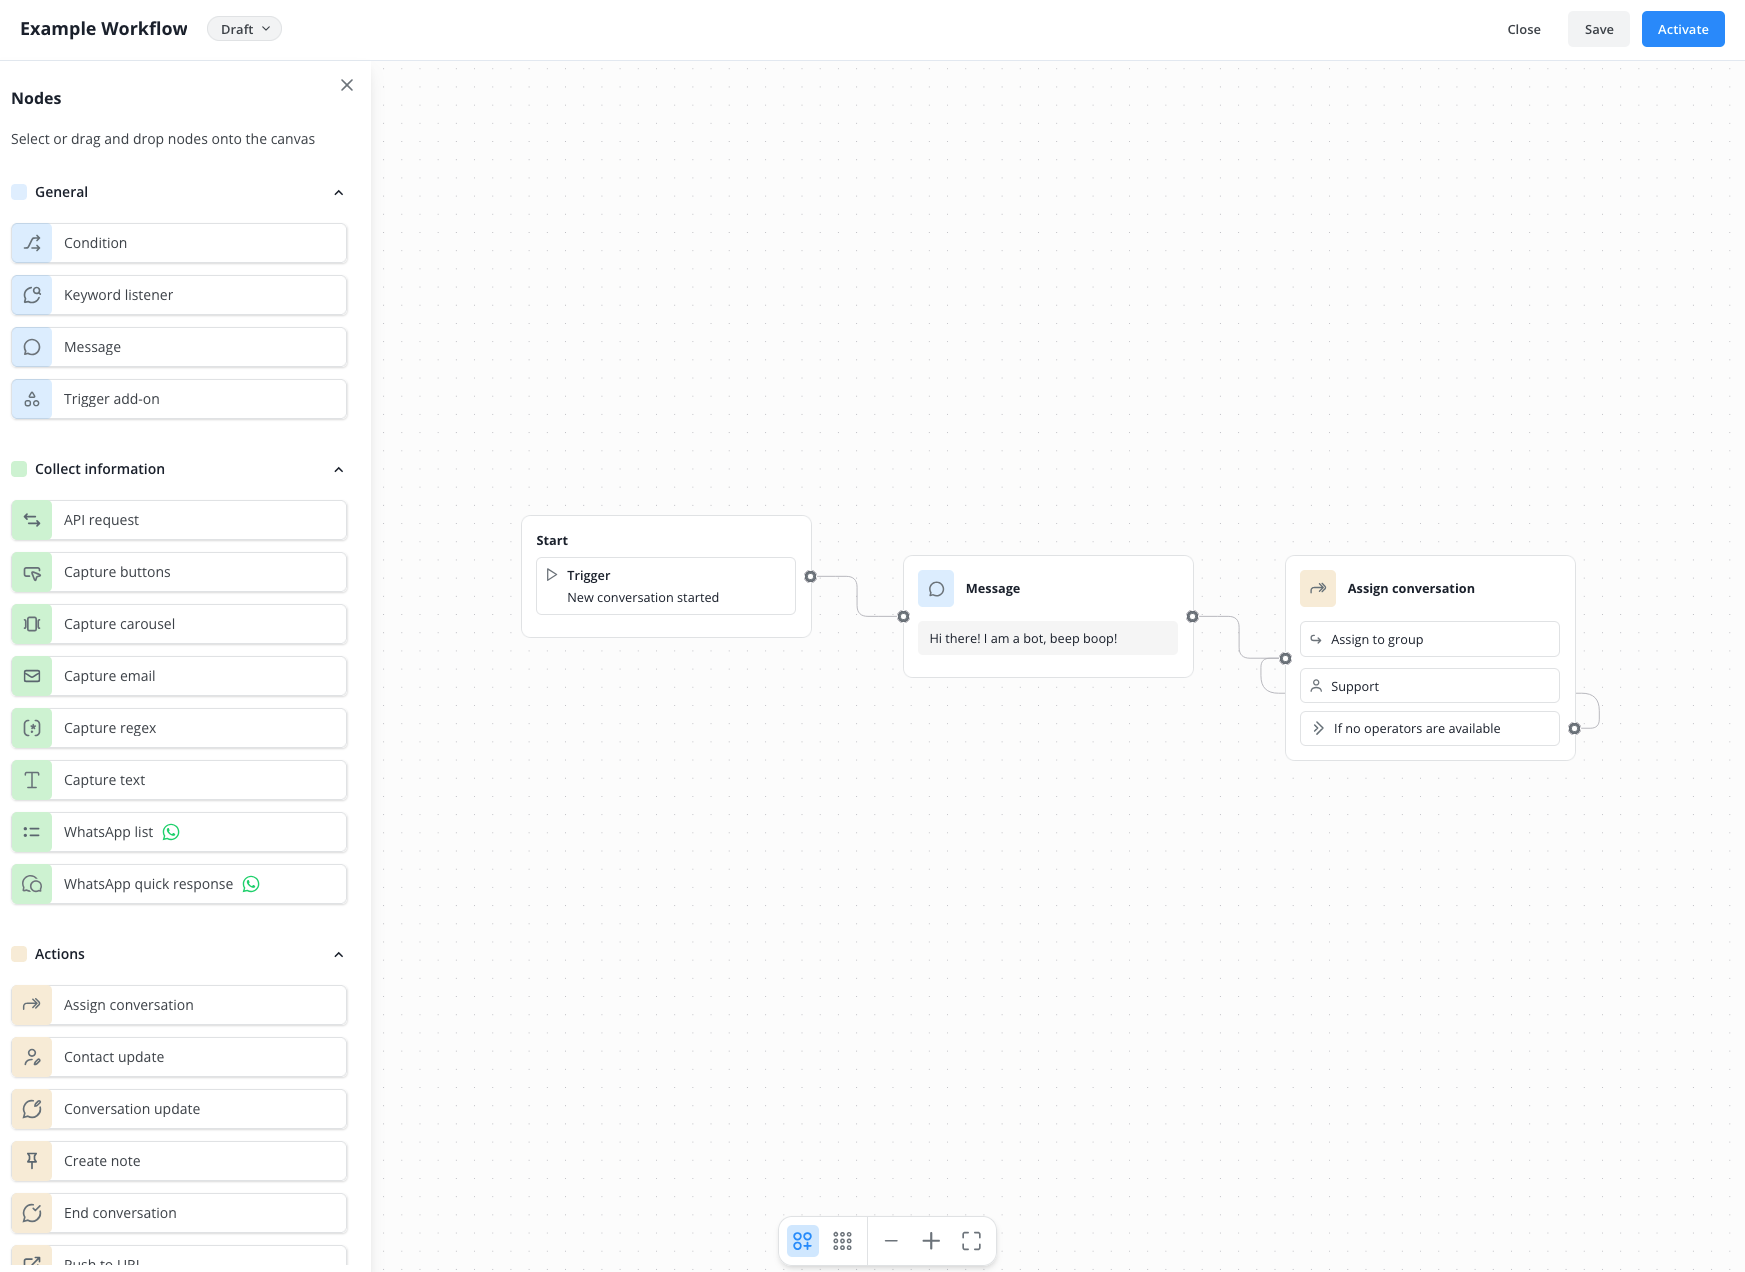
Select the desired node with a click, it will automatically be opened on the canvas.
The canvas is the visual workspace where you create your chatbot flow and connect the nodes with each other.
As soon as you have placed the desired node, the appropriate window for configuring the node opens on the right side.
Variables
In some of the available nodes, you can use variables to store the contact's inputs in the background for the duration of the chat. For example, you can ask for the contact's name and then use it later, such as to save the name in the contact profile.
If you want to use the data stored in the background beyond the chat, you can use additional nodes, e.g., to update or supplement the contact profile data.
You can find an example here.
Should you want to learn more on how to use variables, click here:
 Variables
Nodes
We explain the different nodes on the following subpages:
 General nodes
 Collect Information nodes
 Actions nodes
Versioning
When ever you add a new workflow or work on an existing one, you can make use of our versioning system.
Please find more information here:
 Versioning
Create workflows with AI
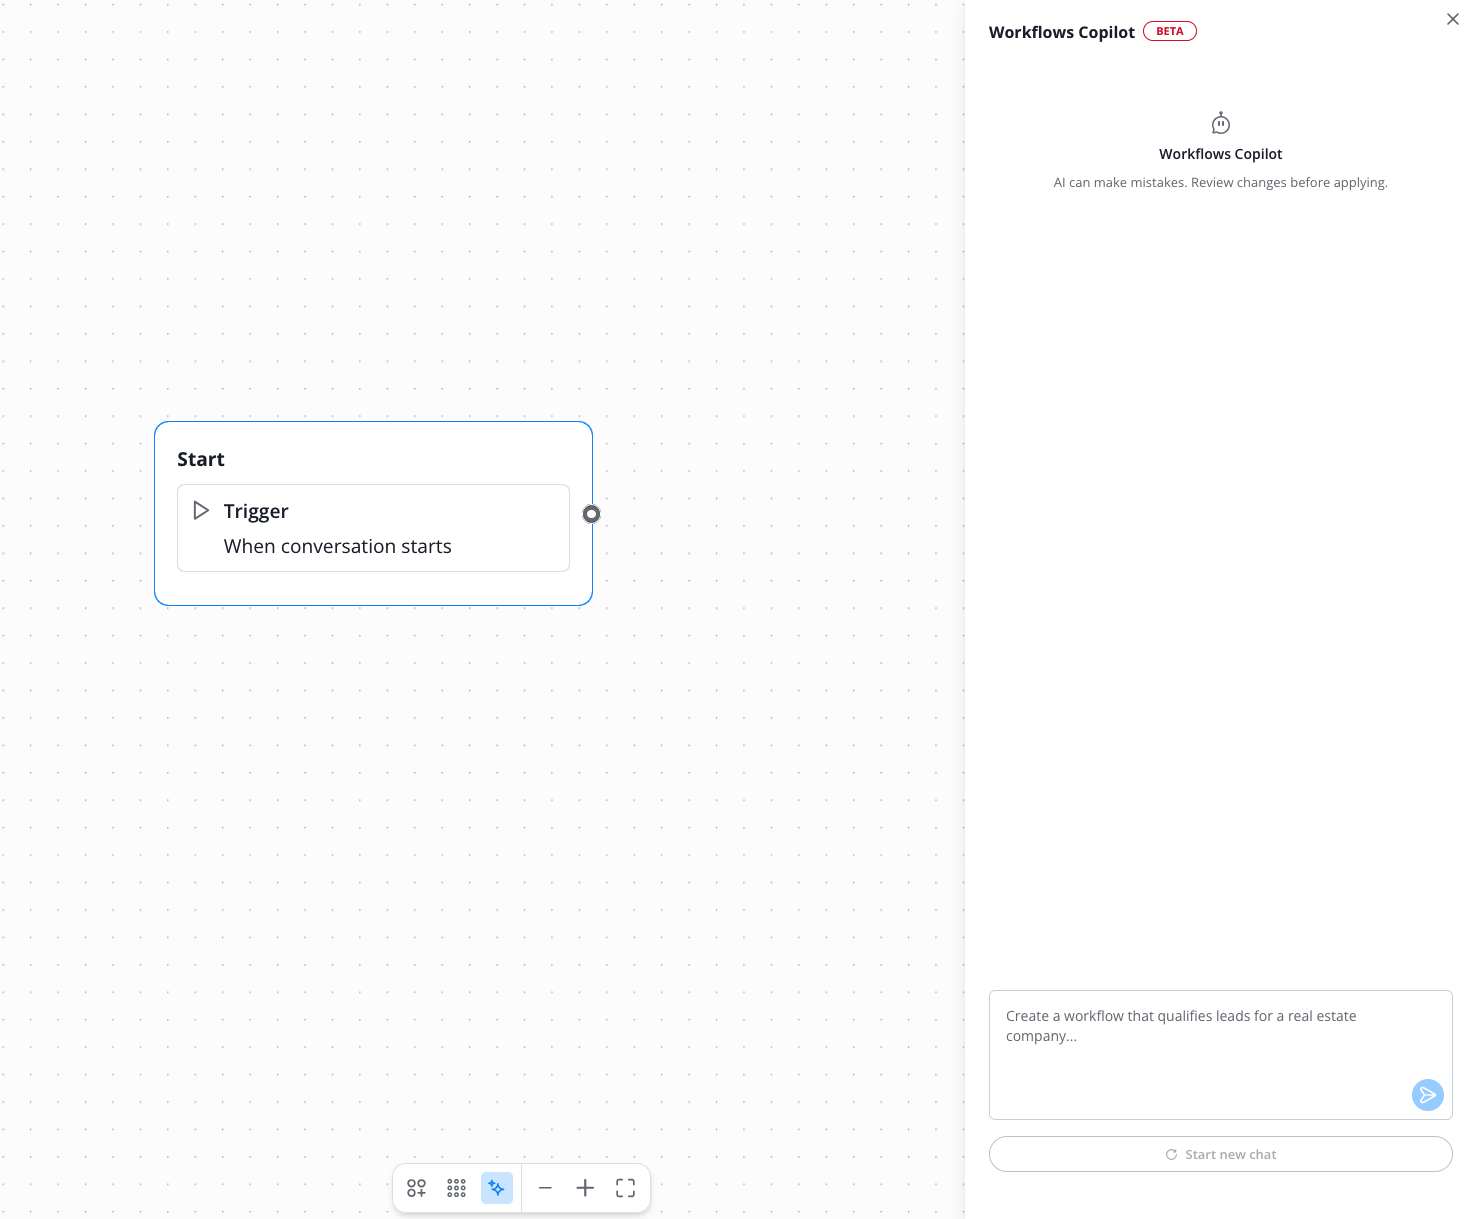
With our build in workflows copilot, you can have AI do the work for you.
Just click on the AI icon at the bottom of the canvas.
The workflows copilot sidebar opens. Here, just prompt the ideas for your workflow and the AI will create a workflow for you automatically. If you want, you can also finetune the result by talking directly to the copilot.
Explanation of Connections
Connect the individual nodes with each other by linking the connection points with your mouse through clicking and dragging. Note that some nodes require various connections, e.g., to cover a skipped input or to connect different paths depending on the contact's selection.
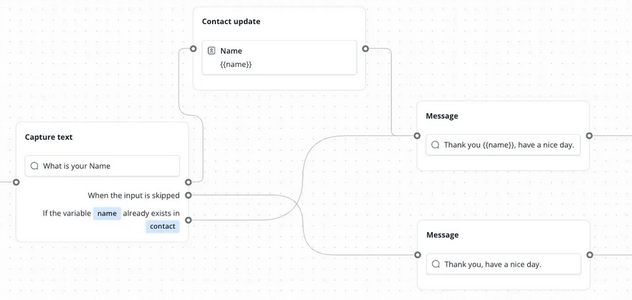
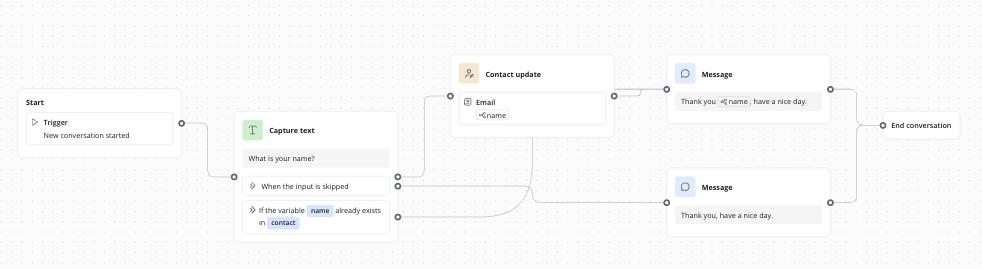
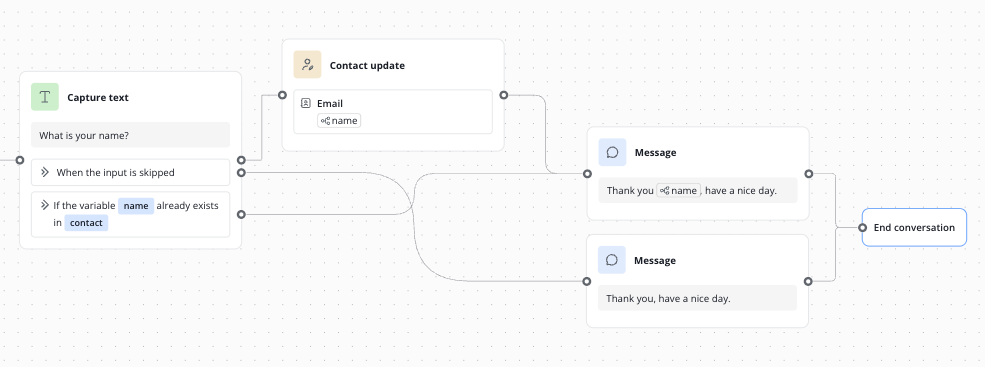
Example
In our example, we show you a short, simple workflow that only asks the contact for their name and saves it in the contact's Lime Connect profile. In case the contact does not provide their name, an alternative text is played (without mentioning the name in the farewell).